How the engine works
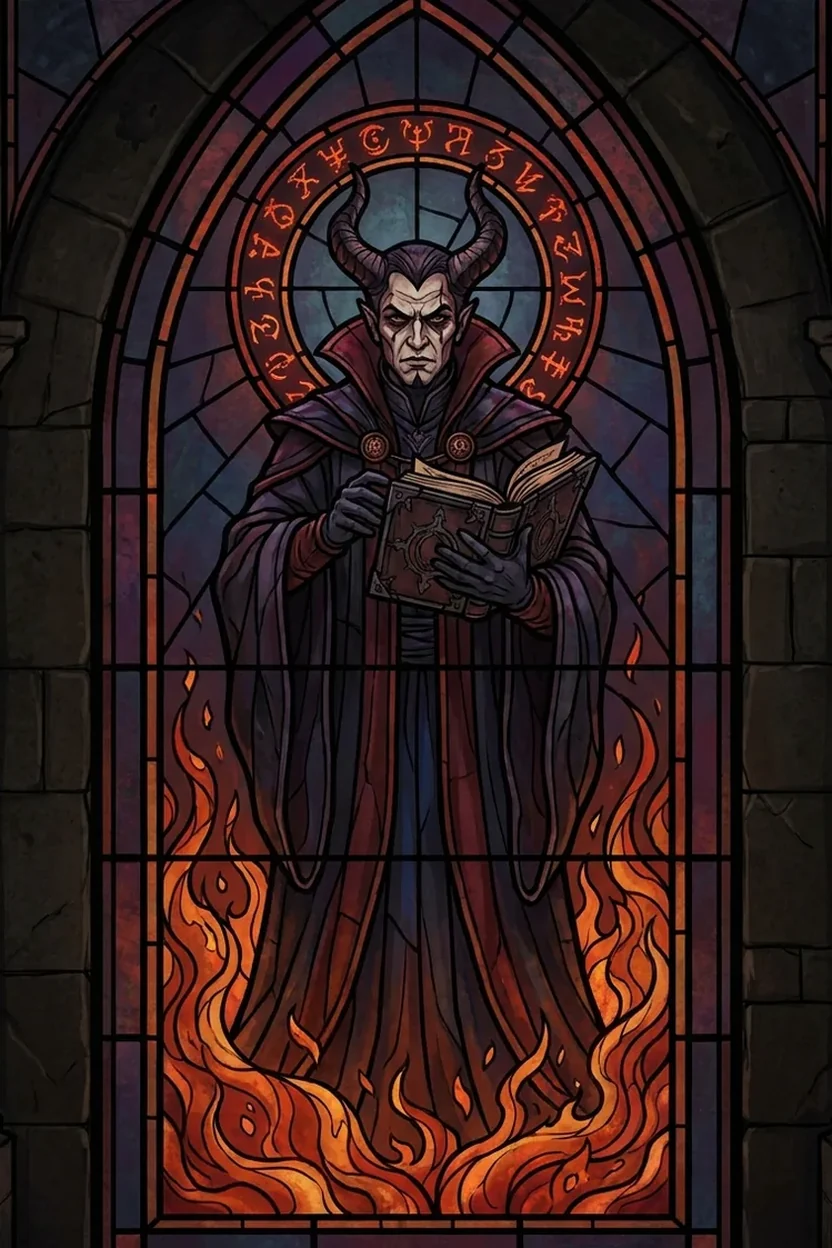
You spam Blazing Scream, a demon skull that damages everything it passes through and bounces off walls. The sword Elegy makes it an Archfiend skill and adds the Skull Splitter skulls for free, each hitting as hard as the main one. Infernal Homunculus then multiplies all Archfiend damage and switches on every Archfiend Lesser Demon upgrade, which is where your Wrath and Vulnerable come from. Underneath it all you keep Metamorphosis: Destruction Demon running permanently. It gives you Demonform and Volatility and adds Hellfire damage with every cast, but each cast also Burns you for 8% of your Maximum Life over 3 seconds. You survive by healing past full Life and turning the excess into Barrier with Temerity.
Who it's for
Anyone coming off the levelling guide, because it uses the same main skill and starts on the same bar. It is best at speed farming and general endgame. It clears high tiers too, but it is not the class's top Pit pusher.
- Rating
- S-Tier
- Difficulty
- Moderate — aim and self-heal
- Key stat
- Maximum Life
- Must have
- Elegy (one-handed sword)
The bar
This is the finished bar, used once you have Metamorphosis healing sorted. A fresh level 70 keeps the levelling bar first; the progression section shows when to swap.
Rank 15 with Impact Velocity and Damage. Your only real damage button. Fire it into tight packs and at walls so the skulls bounce back through the target.
Hold — constantlyRank 15 with Destruction Demon, Damage Scaling and Dominance. Cast it once. Pressing it again cancels it, so only recast if the buff drops.
Keep it upRank 15 with Fortify, Cooldown Reduction and Chain Aura. The aura cuts damage from outside it by 45% and follows you. Only cast it in a fight so it doesn't run out early.
Press — on cooldownOne point, with Sigil of Lava. The Eightfold Idol needs it so Blazing Scream leaves lava trails. For speed farming, swap it for Rampage.
Each packFree from the Vanguard Shard. Mount Abodian for 5.5 seconds: Unstoppable, +60% Movement Speed, and he drags enemies along. Press again to hop off early.
Movement and CC breakRank 8 with Wrath, Knock Down and Demon Turret, which leaves up to six turrets. Press it when Wrath runs short.
When Wrath is lowPassives
There is no Key Passive and no passive nodes in this build. All 83 skill points go into active skills and their upgrades. Fourteen of those points come from the Season Rank system, so a fresh 70 has 69 to spend.
Soul Shards
A Warlock binds one Soul Shard and one Fragment. The shard is the Vanguard Shard, the same one you levelled with. It grants Abodian, and while you are in Demonform every Archfiend skill you cast also summons its Archfiend demon. With Elegy equipped, Blazing Scream is itself an Archfiend skill. There are two ways to run the Fragment. Inferno makes your Hellfire damage radiate fire onto enemies close to you while you are Volatile in Demonform, which Destruction Demon guarantees. Warden is the levelling pick: 30% more Hellfire Demonology damage in Demonform, and it keeps your Hellfire summons alive. Keep Warden while you are still on the levelling bar, then take Inferno when you move to Metamorphosis, and fight at close range so the fire hits the whole pack.
| Pick | What it gives you |
|---|---|
| Vanguard Shard | Grants Summon Abodian. While in Demonform, casting an Archfiend skill also summons that skill's Archfiend demon. |
| Inferno Fragment | While you are Volatile in Demonform, Hellfire skill damage makes you emanate fire for 2 seconds, dealing 30% of that damage to Close enemies. The recommended pick for the finished bar. |
| Warden Fragment | Demonform increases Hellfire Demonology damage by 30% and drains 0.4 Dominance per second per Close Hellfire summon to extend their durations. Best while Orbital Scream and Terror Swarm are still on your bar. |
What to wear
One sword turns the build on and one pair of pants keeps you alive. Everything else is an upgrade you can play without.
Uniques
| Item | What it does | Priority |
|---|---|---|
| Elegy | One-handed sword. Blazing Scream becomes an Archfiend skill and deals 30–50% more damage. It gains Skull Splitter for free, and the small skulls hit as hard as the main one. Drops from Lord Zir. | Mandatory |
| Temerity | Pants. Healing past 100% Life becomes Barrier worth 80–100% of the overheal for 8 seconds, and you can drink potions at full Life. This is what makes Destruction Demon's self-Burn survivable. Drops from the Harbinger of Hatred. | Core |
| Infernal Homunculus | Focus. Archfiend skills deal 80–110% more damage, and casting one activates all their Lesser Demon upgrades for free with 200% longer durations. Only equip it after Elegy, because without Elegy Blazing Scream is not an Archfiend skill. Drops from Urivar. | Core |
| The Eightfold Idol | Ring. Blazing Scream leaves Sigil of Subversion trails, and you deal 60–80% more Hellfire damage to enemies standing on Lava trails. The second biggest damage item after Elegy. Drops from The Beast in the Ice. | Core |
| Moloch's Beating Flame | Amulet. Hellfire skills deal 13–20% more damage for every skill you have empowered by Volatility, and empowered casts raise your Core Stats by 5% for 10 seconds, up to 50%. Metamorphosis supplies the Volatility. Drops from The Butcher, and it is the first choice for your crafted Mythic. | Core |
| Leoric's Crown | Helm. It counts as jewellery and boosts the gems socketed in it by 35–50%, so it holds your two best Soul Splinters. Comes from Waking Nightmare bosses and general endgame loot. | Core |
| Second ring | Ring. There are three ways to fill it. Wendigo Brand gives 2% damage and 1% Attack Speed for every 15 kills in the last 50–60 seconds, which suits farming. Ring of Starless Skies cuts Wrath costs and adds up to 50% damage as you spend. Stone of Jordan sets every resistance to your highest. Take Stone of Jordan if your resistances are a problem, otherwise Wendigo Brand. | Recommended |
| Hand of Apotheosis | Gloves. Any Demonform grants every Metamorphosis upgrade for free, 50–100% more potent. Drops from Bartuc in Infernal Hordes. The alternative is legendary gloves with Aspect of Ignition. | Variant |
Before they drop
Stay on the levelling bar and wear legendaries. Put Remorseless on a one-handed sword and craft an Ancient's Pledge focus in the Cube from Ral, Ort and Tal runes and a white focus. Craft a Stealth chest from Tal and Eth and a white chest piece. If the self-Burn is killing you, don't run Destruction Demon yet. Until Temerity drops you can play the Legion Shard with Apocalypse on the bar for damage instead.
Legendary aspects
| Aspect | What it does for you |
|---|---|
| Sadistic Aspect | Amulet by transfiguration, boots until then. Killing your own demons has a 50–75% chance to count as two kills, and Life on Kill rises by 1% of your Maximum Life. Every small skull is a demon dying, so this is most of your healing. |
| Undying Aspect | Boots. Every skill cast heals you for 2–3% of Maximum Life, doubled while Injured. You cast constantly, so it runs constantly. |
| Aspect of Ignition | Gloves. Skills empowered by Volatility deal at least 60% more damage and Volatility has a chance to persist. Destruction Demon keeps you Volatile the whole time. |
| Aspect of Diabolical Armor | Chest. Demonform grants 20% Damage Reduction, plus 1.5% for 5 seconds each time you take Fire damage, up to 15%. Your own Burn feeds it. |
| Aspect of Accursed Touch | Gloves or boots, early only. Lucky Hit chance to apply Vampiric Curse, which makes enemies Vulnerable. Drop it once Infernal Homunculus supplies Vulnerable. |
| Malicious Aspect | Focus before the Homunculus, or a spare ring. In Demonform you deal more damage for every demon or enemy Close to you. |
Don't equip the Homunculus first
Infernal Homunculus only boosts Archfiend skills, and Blazing Scream only becomes one with Elegy in your hand. Without Elegy the focus does nothing for your main skill. Keep the Ancient's Pledge focus until the sword drops.
Stats, gems and paragon
Roll and masterwork toward these, in this order.
| # | Stat | Where you roll it |
|---|---|---|
| 1 | Maximum Life | Nearly every piece, and tempered on helm, chest and pants. It is defence and, through Metamorphosis: Damage Scaling, damage. |
| 2 | Attack Speed | Helm and rings |
| 3 | Critical Strike Chance | Tempered on both weapons, plus the Splinter of Anguish |
| 4 | Critical Strike Damage | Gloves, amulet, rings and Elegy |
| 5 | Vulnerable Damage | Gloves, amulet and rings |
| 6 | Movement Speed | Boots, inherent and tempered. Impact Velocity turns it into up to 30% Blazing Scream damage. |
| 7 | Fire Resistance | Chest, and Royal Rubies in jewellery |
| 8 | Ranks to Blazing Scream and Hellfire skills | Gloves, Elegy, boots and amulet |
Hard targets
Early on: over 40% Attack Speed, over 20% Critical Strike Chance, Maximum Life on nearly every piece, and three Lucky Hit: Restore Resource tempers. Finished: 100% Attack Speed, 100% Critical Strike Chance, over 10 Resource Generation (your Wrath), two of those Lucky Hit: Restore Resource tempers, and over 10,000 Fire Resistance. After Fire, get one of each other resistance that your jewellery doesn't already give.
Tempering & masterworking
Maximum Life on helm, chest and pants. Demonology damage on gloves. Movement Speed on boots. Lucky Hit: Restore Resource on both rings, which is what refills your Wrath. Critical Strike Chance on both weapons. Resource Cost Reduction on the amulet. Masterwork Critical Strike Chance on gloves and rings, Maximum Life on chest, pants and boots, Weapon Damage on Elegy and the Homunculus, and Vulnerable Damage on the amulet.
Gems, runewords & Splinters
- Rubies in both weapons. Diamonds in jewellery early, then swap one or two for Royal Rubies until Fire Resistance is where you need it.
- Nagu + Que in the chest. Nagu counts every Blazing Scream projectile as a summon, and Que pays that out as a Barrier.
- Tam + Lac in the pants. Lac is a large chunk of Damage Reduction. Early on a Gar rune adds Critical Strike Chance. There is a second way to run runes: Igni + Tir, which generates Wrath as your own demons die. Take it if Wrath is your problem rather than survival.
- Leoric's Crown holds the Black Soulstone and the Splinter of Anguish. The small skulls trigger the Soulstone's stacks. Anguish gets you to the 100% targets but raises Wrath costs by 30%, so use the Splinter of Hellfire instead until Wrath is comfortable. Hellfire removes your critical strikes, so swap back later.
- Rings and amulet: the Splinter of Pain for 25% Damage Reduction at the cost of Movement Speed, and the Splinter of the Mother, whose Unhindered cancels that penalty and whose touch makes enemies Vulnerable.
- Talisman: Flesh of Abaddon. Two pieces give stacking damage in Demonform, three give +20% Maximum Life in Demonform, and five add 66% Hellfire damage while Volatile. The finished setup is four Abaddon and two Rite of the Nameless charms under the Seal of the Diamond Mind, which lowers every set requirement by one. Start with Slaughter and Practiced Technique charms.
Paragon
Start board, then Dynamism, Fathomless, Demonic Spicules and Greater Hex. Dynamism's legendary node is the reason for the order: in Demonform your Demonology damage rises 2.5% for every point of Dominance you are holding. Put survivability ahead of damage on the early boards. Superiority and Attrition must reach level 50 before you meet the Intelligence requirements on any board, so level those two first. Then take every glyph to 50 for the bigger radius, to 100 at around 280 Paragon points, and finally to 150.
| Glyph | Where and why |
|---|---|
| Superiority | Start board. Level it first, to 50. |
| Attrition | Dynamism. Second to 50, for the same Intelligence requirement. |
| Unbound | Fathomless. Boosts the Magic nodes in its radius. |
| Demonologist | Demonic Spicules, the board that ramps damage on enemies hit by Demonology skills. |
| Archfiend | Greater Hex. Last to level. |
Mercenary
Hire Raheir for survivability, with Aldkin reinforcing: tie his Field of Languish to Blazing Scream so it is always down, slowing enemies by 40% and cutting their damage by 20%. Early on, hire Varyana instead for her stacking Attack Speed and Movement Speed, and keep Raheir as the reinforcement with Bastion.
From fresh 70 to finished
You arrive from the levelling guide with the right main skill already maxed. This is the order the rest arrives in.
Blazing Scream with Orbital Scream, Terror Swarm, Summon Abodian, Dark Prison and Nether Step, with Bombardment: Endless Barrage in the last slot to feed Wrath by blowing up your own demons. Vanguard Shard and Warden Fragment stay. Wear legendaries, and use the Leoric's Crown from the seasonal questline.
Temerity plus Sadistic and Undying is the healing engine. Once you have it, swap Terror Swarm for Metamorphosis: Destruction Demon and move from the Warden Fragment to Inferno. Get used to watching your Life. Burning does less damage to Barrier than to Life, which is why overhealing works.
Farm Lord Zir, then switch to the finished bar. Skull Splitter now comes free with the sword, so the point you would have spent on that variant goes into Rampage.
Infernal Homunculus from Urivar, then The Eightfold Idol from The Beast in the Ice. Put one point in Sigil of Subversion with Sigil of Lava so the Idol's trails count for Hellfire. Drop Accursed Touch now that the Homunculus supplies Vulnerable.
Craft one Mythic: Moloch's Beating Flame first, then Temerity, Leoric's Crown, Ring of Starless Skies, Elegy and the Homunculus in that order of value. You can only wear one crafted Mythic. Finish the four-plus-two talisman under the Seal of the Diamond Mind and push to 100% Attack Speed and Critical Strike Chance.
The rotation
Cast it at the start and leave the button alone. If the buff falls off because you became Injured, recast it.
The Chain Aura follows you. Don't cast it between packs, because kills inside it are what bring it back quickly.
It lays Lava so The Eightfold Idol's bonus applies from the first skull.
Get close. Inferno's fire only reaches Close enemies, and Command Abodian also breaks crowd control.
Aim down corridors and at walls. A skull that bounces straight back hits the same enemies again.
Drop turrets, then go straight back to skulls.
On bosses
Open with Metamorphosis, then the Sigil, then Dark Prison, and keep the boss standing on your Lava trails. Put a wall behind the boss and fire into it so the skulls bounce back through. Watch your Life on long fights: end Metamorphosis before the Burn becomes dangerous, and recast it once you have healed.
Strengths, weaknesses, mistakes
What it's good at
- Very mobile for the slowest class, with Abodian, Rampage and Movement Speed doubling as damage.
- High single-target damage once skulls are bouncing, and strong survivability with Temerity's Barrier.
- The easiest move from levelling: same main skill, same shard, and it starts on the same bar.
- Rated at the top across the board this season.
Where it struggles
- Constant button spam, and the damage depends on aiming for bounces.
- Two pools to watch, Wrath and Dominance, plus your own Life under Destruction Demon.
- Elegy is required. Without it the build is a levelling build at level 70.
- The area it covers could be bigger, and damage takes a moment to ramp.
Mistakes that ruin it
- Equipping Infernal Homunculus before Elegy. It only boosts Archfiend skills, and Blazing Scream isn't one until the sword is in your hand.
- Running Destruction Demon without Temerity and a healing aspect. Every cast Burns you for 8% of your Life. Without overheal turning into Barrier, you kill yourself.
- Pressing Metamorphosis again. A second press cancels it. Cast once and only recast when the buff has actually dropped.
- Casting Dark Prison out of combat. It runs out before the fight and the cooldown only shortens from kills inside it.
- Socketing the Splinter of Anguish before Wrath is solved. Its 30% cost increase can leave you unable to cast. Use the Splinter of Hellfire until Ring of Starless Skies or your Lucky Hit tempers fix it.
- Ignoring Movement Speed. Impact Velocity turns it into up to 30% more Blazing Scream damage and speed.
Not for you? The other Warlock builds: Apocalypse · Ae'grom Summoner.